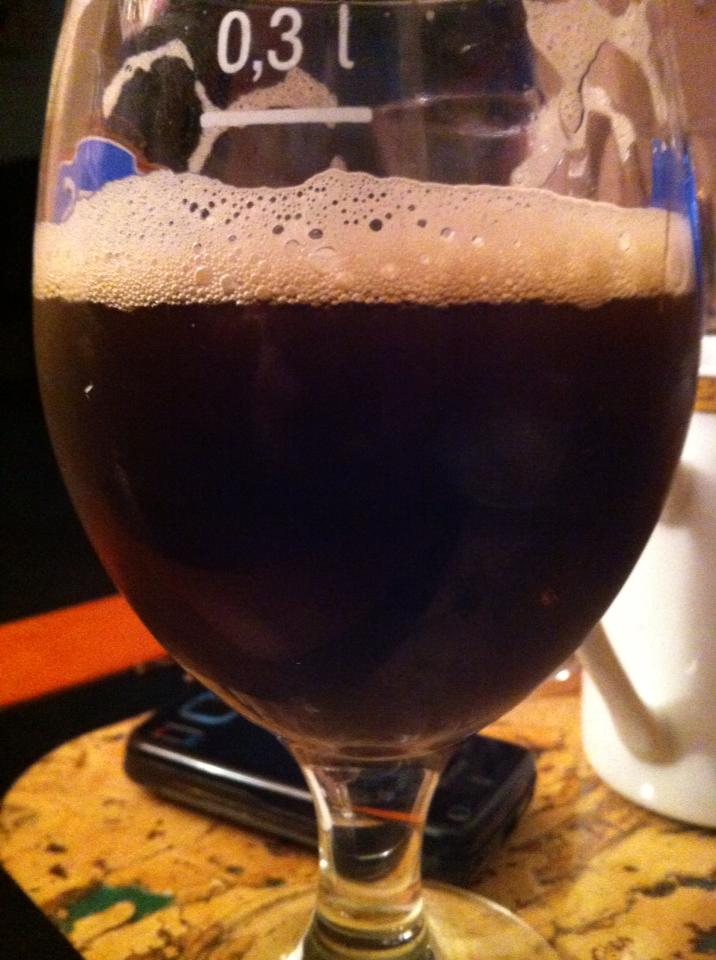
Your very own beer: priceless. This is Sasho’s first homemade production, a Flemish brown beer.
The only thing that tastes better than a good drink is of course your own homemade drink. Our good friend Sasho, that you might remember from the drunk story when we took over the world, started brewing his own beer in the Bulgarian capital Sofia. He already created a very nice Flemish brown beer and is now working on a Canadian amber ale. Luckily he was willing to share the secrets of this process with us. With the following pictures Sasho guides us through phase 1: the first firmentation.
Sasho had his first experience in beer brewing just a few weeks ago. This ‘oud bruin’, brewed after Flemish recipe with around 6% alcohol, was a big success and so a brewer was born. “Making your own beer is a hobby and a passion”, Sasho explains. “Once you start doing it, it’s like a drug. You want to improve and try new beer kinds. And then you see what kind of piss you actually drink from the big companies. My first beer was a Flemish brown which had to rest in bottles for 6-8 weeks. Now I’m working on a Canadian amber ale, which takes less. This beer will contain around 5% of alcohol.”
“The first step is to sanitize everything perfectly, all of the things you are going to use. Then boil the malt barley and hops.”
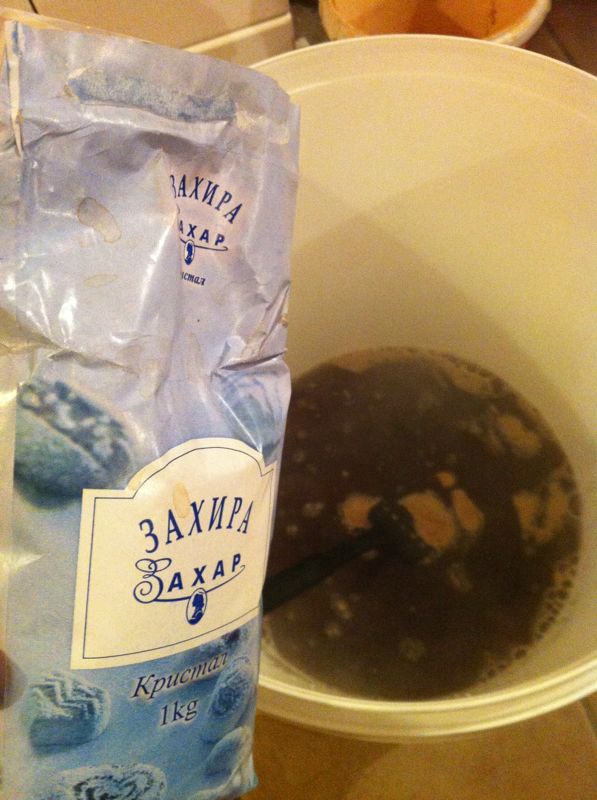
“Add sugar depending on the beer you’re making.”

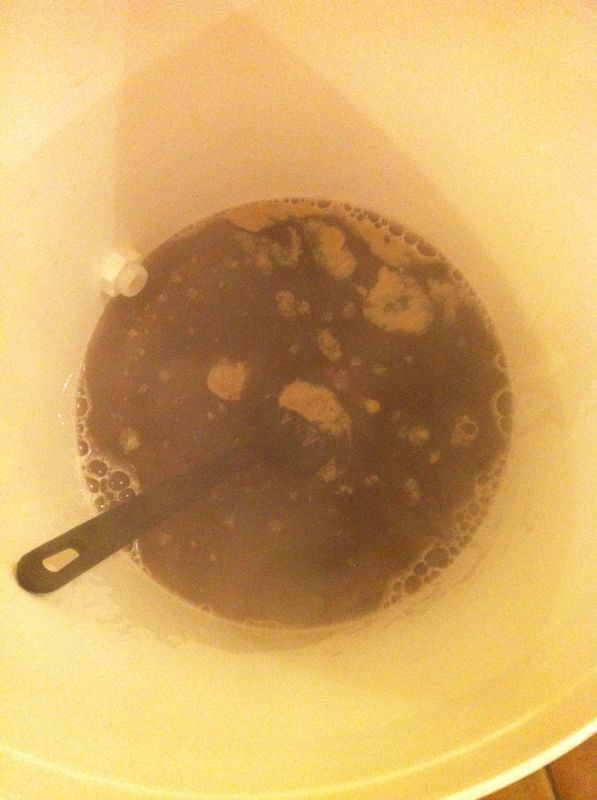
“Then add more water again, depending on the beer of course. Mine will be a Canadian ale, 23 liters.”
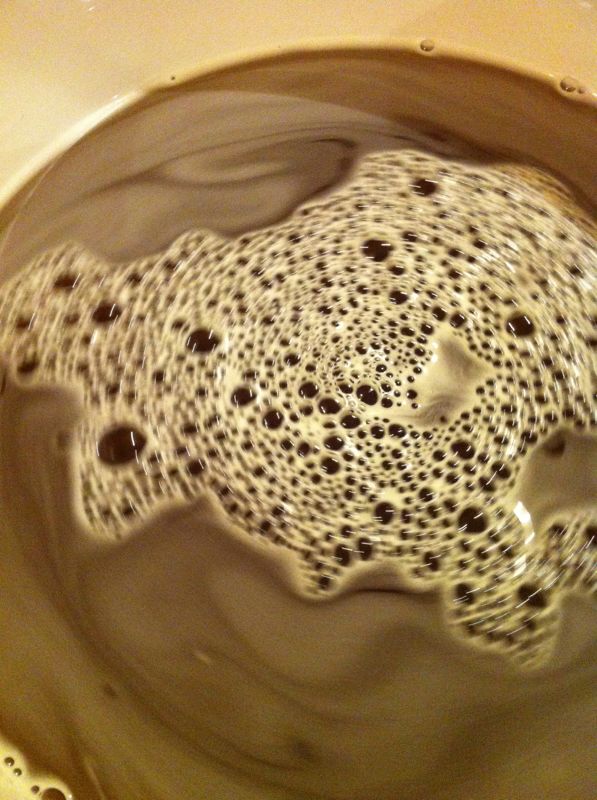
“Then stirr it properly and let it to cool down.”

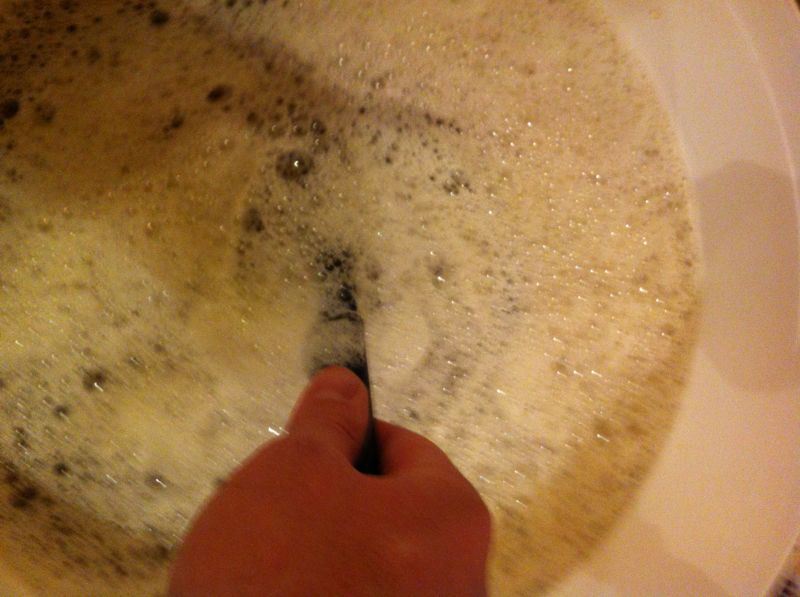
“Then you add the yeast. Again stir properly. And close the tank or bucket for 4-7 days in a warm place where it can ferment.”
The mix ready for the fermentation process.
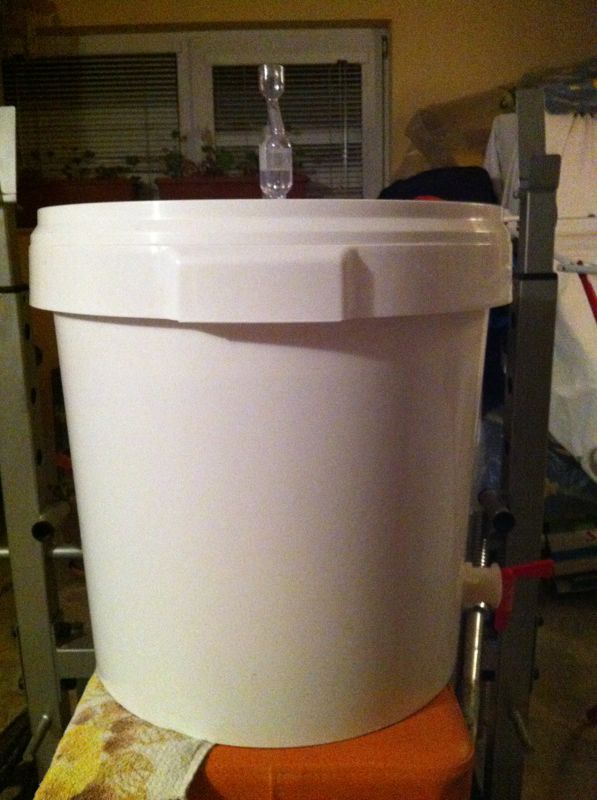
“I used such a container. So air from the fermentation can go out, but not in. On top is a pipe with water in it. The water indicates if the fermentation process is going. When it stops to bubble it is ready for the second phase.”
“Next week will be the second phase. You basically add more sugar and put the beer into bottles for a second fermentation. That way it also gets it’s natural carbonation and not the fake CO2 shit. For this it has to stay 2 days in bottles in a warm place and 2 more weeks in a chilled room. Then it’s good to go.”
Sasho

This is a great how-to post! Filing it away for when I can do it too!
LikeLike
Yeah… Actually he got me quite in the mood to do some experimenting too myself. I think this summer I will try some wines first from berries or apples. It must be so cool to drink your own creations.
Cheers,
Micky
LikeLike
You’re inspiring me.
LikeLike
Cool! Actually this was a guestpost by my friend. But he also inspired me. Just joined a fb group for home brewers and checked out starter kits on internet. Won’t be long till we have some LOTD beer I guess! 😉
Cheers,
Micky
LikeLike